- Odzież / Ochraniacze
- Kaski
- Odzież motocyklowa
- Ochraniacze
- Fox Rowerówka
- Gogle
- Odzież codzienna
- Leatt rowerówka
- Części
- Oleje / Smary / Pielęgnacja / Chemia
- Silnik i osprzęt
- Cylindry
- Rozrząd
- Uszczelki Silnika
- Tłoki - komplety
- Tarcze Sprzęgłowe
- Starter / Sprężyny startera
- Dekle / pokrywy silnika
- Płytki Zaworowe
- Głowice
- Uszczelniacze silnika
- Bębny Sprzęgła / Dzwony
- Sprzęgła Odśrodkowe / Szczęki
- Sprężyny sprzęgła
- Przekładki sprzegła
- Wały Korbowe / Korbowody / Łożyska
- Kosze sprzęgłowe
- skrzynie biegów / Koła zebate
- Łożyska skrzyni biegów
- Zawory
- Sprężyny Zaworowe
- Śruby / Korki
- Silniki kompletne
- Układ elektryczny / Zapłon
- Regulatory napięcia
- Alternatory-Statory
- Moduły zapłonu
- Akumulatory
- Przewody wysokiego napięcia
- Ładowarki do akumulatorów
- Cewki zapłonowe, świetlne, ładowania
- Kondensatory zapłonowe
- Klakson
- Świece zapłonowe
- Fajki zapłonowe
- Czujniki, właczniki
- Liczniki/komputery pokładowe
- Przełączniki, właczniki
- końcówki elektryczne, wtyczki, kostki
- Stacyjki / Kluczyki
- Przerywacze kierunkowskazów
- rozrusznik/ przekaźniki/ zestawy naprawcze
- Plastiki Cross
- Zawieszenie
- Lampy / Kierunkowskazy
- Nadwozie
- Dźwignie Sprzęgła
- Dźwignie Hamulca
- Kierownice Akcesoria
- Podnóżki
- Linki i cięgna
- Lusterka
- Mocowania Uchwyty Dźwigni sprzęgła CROSS
- Manetki
- Osłony Nadwozia
- Hand bary - osłony dłoni
- Końcówki Kierownicy / Cieżarki
- Dźwignie Zmiany Biegów
- Sprzęgła hydrauliczne / pompy / zestawy
- Dźwignia rozrusznika / Kopniak / Kopajka
- Mocowania Tablicy Rejestracyjnej
- Dźwignie Sportowe
- Szyby motocyklowe
- Naklejki na motocykl
- Okleiny plastików CROSS / OFF-ROAD
- Sety
- Zegary, obudowy zegarów
- Koła, piasty, obręcze
- Owiewki
- Pokrowce na siedzenia, gąbki, siedzenia
- Ramy motocyklowe
- błotniki
- Filtry
- Układ hamulcowy
- Stelaże przednie
- Opony/Dętki/Felgi
- Układ napedowy
- Układ paliwowy
- Układ Wydechowy
- Układ chłodzenia
- Układ rozruchowy

- Akcesoria
- Na Prezent
- Narzędzia
- Bagaż
- Blokady, zabezpieczenia
- Pokrowce na motocykl / quada
- Inne akcesoria
- Tank Pady
- Zestawy naprawcze opon i dętek
- Stojaki, podnośniki
- Intercomy - komunikacja / łączność
- Kamery
- telefony / uchwyty, pokrowce
- Baterie - POWERBANK
- Naklejki
- Kamizelki Odblaskowe
- Ładowarki / Zapalniczki
- Podnóżki / Stopki Centralne
- Liczniki Motogodzin
- Śrubki do owiewek
- Rolki serwisowe
- Opaski zaciskowe
- Lampki rowerowe
- Artykuły
- Motocykle
- Odzież / Ochraniacze
- Kaski
- Odzież motocyklowa
- Ochraniacze
- Fox Rowerówka
- Gogle
- Odzież codzienna
- Leatt rowerówka
- Części
- Oleje / Smary / Pielęgnacja / Chemia
- Silnik i osprzęt
- Cylindry
- Rozrząd
- Uszczelki Silnika
- Tłoki - komplety
- Tarcze Sprzęgłowe
- Starter / Sprężyny startera
- Dekle / pokrywy silnika
- Płytki Zaworowe
- Głowice
- Uszczelniacze silnika
- Bębny Sprzęgła / Dzwony
- Sprzęgła Odśrodkowe / Szczęki
- Sprężyny sprzęgła
- Przekładki sprzegła
- Wały Korbowe / Korbowody / Łożyska
- Kosze sprzęgłowe
- skrzynie biegów / Koła zebate
- Łożyska skrzyni biegów
- Zawory
- Sprężyny Zaworowe
- Śruby / Korki
- Silniki kompletne
- Układ elektryczny / Zapłon
- Regulatory napięcia
- Alternatory-Statory
- Moduły zapłonu
- Akumulatory
- Przewody wysokiego napięcia
- Ładowarki do akumulatorów
- Cewki zapłonowe, świetlne, ładowania
- Kondensatory zapłonowe
- Klakson
- Świece zapłonowe
- Fajki zapłonowe
- Czujniki, właczniki
- Liczniki/komputery pokładowe
- Przełączniki, właczniki
- końcówki elektryczne, wtyczki, kostki
- Stacyjki / Kluczyki
- Przerywacze kierunkowskazów
- rozrusznik/ przekaźniki/ zestawy naprawcze
- Plastiki Cross
- Zawieszenie
- Lampy / Kierunkowskazy
- Nadwozie
- Dźwignie Sprzęgła
- Dźwignie Hamulca
- Kierownice Akcesoria
- Podnóżki
- Linki i cięgna
- Lusterka
- Mocowania Uchwyty Dźwigni sprzęgła CROSS
- Manetki
- Osłony Nadwozia
- Hand bary - osłony dłoni
- Końcówki Kierownicy / Cieżarki
- Dźwignie Zmiany Biegów
- Sprzęgła hydrauliczne / pompy / zestawy
- Dźwignia rozrusznika / Kopniak / Kopajka
- Mocowania Tablicy Rejestracyjnej
- Dźwignie Sportowe
- Szyby motocyklowe
- Naklejki na motocykl
- Okleiny plastików CROSS / OFF-ROAD
- Sety
- Zegary, obudowy zegarów
- Koła, piasty, obręcze
- Owiewki
- Pokrowce na siedzenia, gąbki, siedzenia
- Ramy motocyklowe
- błotniki
- Filtry
- Układ hamulcowy
- Stelaże przednie
- Opony/Dętki/Felgi
- Układ napedowy
- Układ paliwowy
- Układ Wydechowy
- Układ chłodzenia
- Układ rozruchowy
- Akcesoria
- Na Prezent
- Narzędzia
- Bagaż
- Blokady, zabezpieczenia
- Pokrowce na motocykl / quada
- Inne akcesoria
- Tank Pady
- Zestawy naprawcze opon i dętek
- Stojaki, podnośniki
- Intercomy - komunikacja / łączność
- Kamery
- telefony / uchwyty, pokrowce
- Baterie - POWERBANK
- Naklejki
- Kamizelki Odblaskowe
- Ładowarki / Zapalniczki
- Podnóżki / Stopki Centralne
- Liczniki Motogodzin
- Śrubki do owiewek
- Rolki serwisowe
- Opaski zaciskowe
- Lampki rowerowe
- Artykuły
- Motocykle


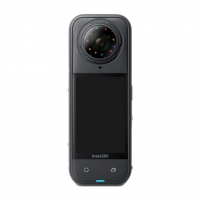
Insta360 X5 Replacement Lens Kit
CINSCAHP-03
New
This product is no longer in stock
Data sheet
| MATERIAŁY | szkło |
| WYMIARY | waga: 6,8kg |
More info
Insta360 X5 ND Filter – Professional Light Control & Cinematic Fluidity
The ND filter for the Insta360 X5 is a key tool for any creator looking to take full control over the exposure and aesthetics of their footage. By reducing the amount of light hitting the sensor, the filter allows for precise shutter speed adjustment, which eliminates "choppy" video and gives movement a natural, cinematic motion blur. With the X5's user-replaceable lens system, installation is intuitive and tool-free, making it the perfect companion for any adventure.
Key Advantages and Features:
Precise Light Reduction: Enables filming in bright conditions while maintaining optimal shutter settings, preventing overexposure and preserving highlights.
Cinematic Motion Blur: Allows for professional-looking footage by creating natural blur for moving objects – an essential feature for high-end video production.
Quick-Swap System: Designed for rapid disassembly and replacement of outer lenses, allowing for instant adaptation to changing weather conditions.
Lens Protection: The filter acts as a shield for the camera's primary optics. If the filter gets accidentally scratched, simply swap it for a new one, saving time and service costs.
Premium Optical Quality: High-grade glass ensures excellent clarity and color fidelity, which is vital for maintaining the high quality of 360° captures.
Technical Specification:
Filter Type: ND (Neutral Density)
Application: Exposure control, overexposure reduction, motion blur
Compatibility: Insta360 X5
Mounting System: User-Replaceable Outer Lens
Material: High-quality optical glass
Box Content:
1x ND Filter for Insta360 X5
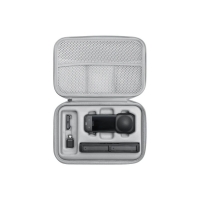
Protective storage case
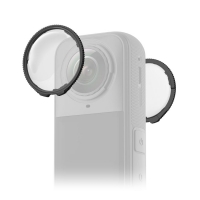
Replacement Lens Kit
Snap, swap, send it again.
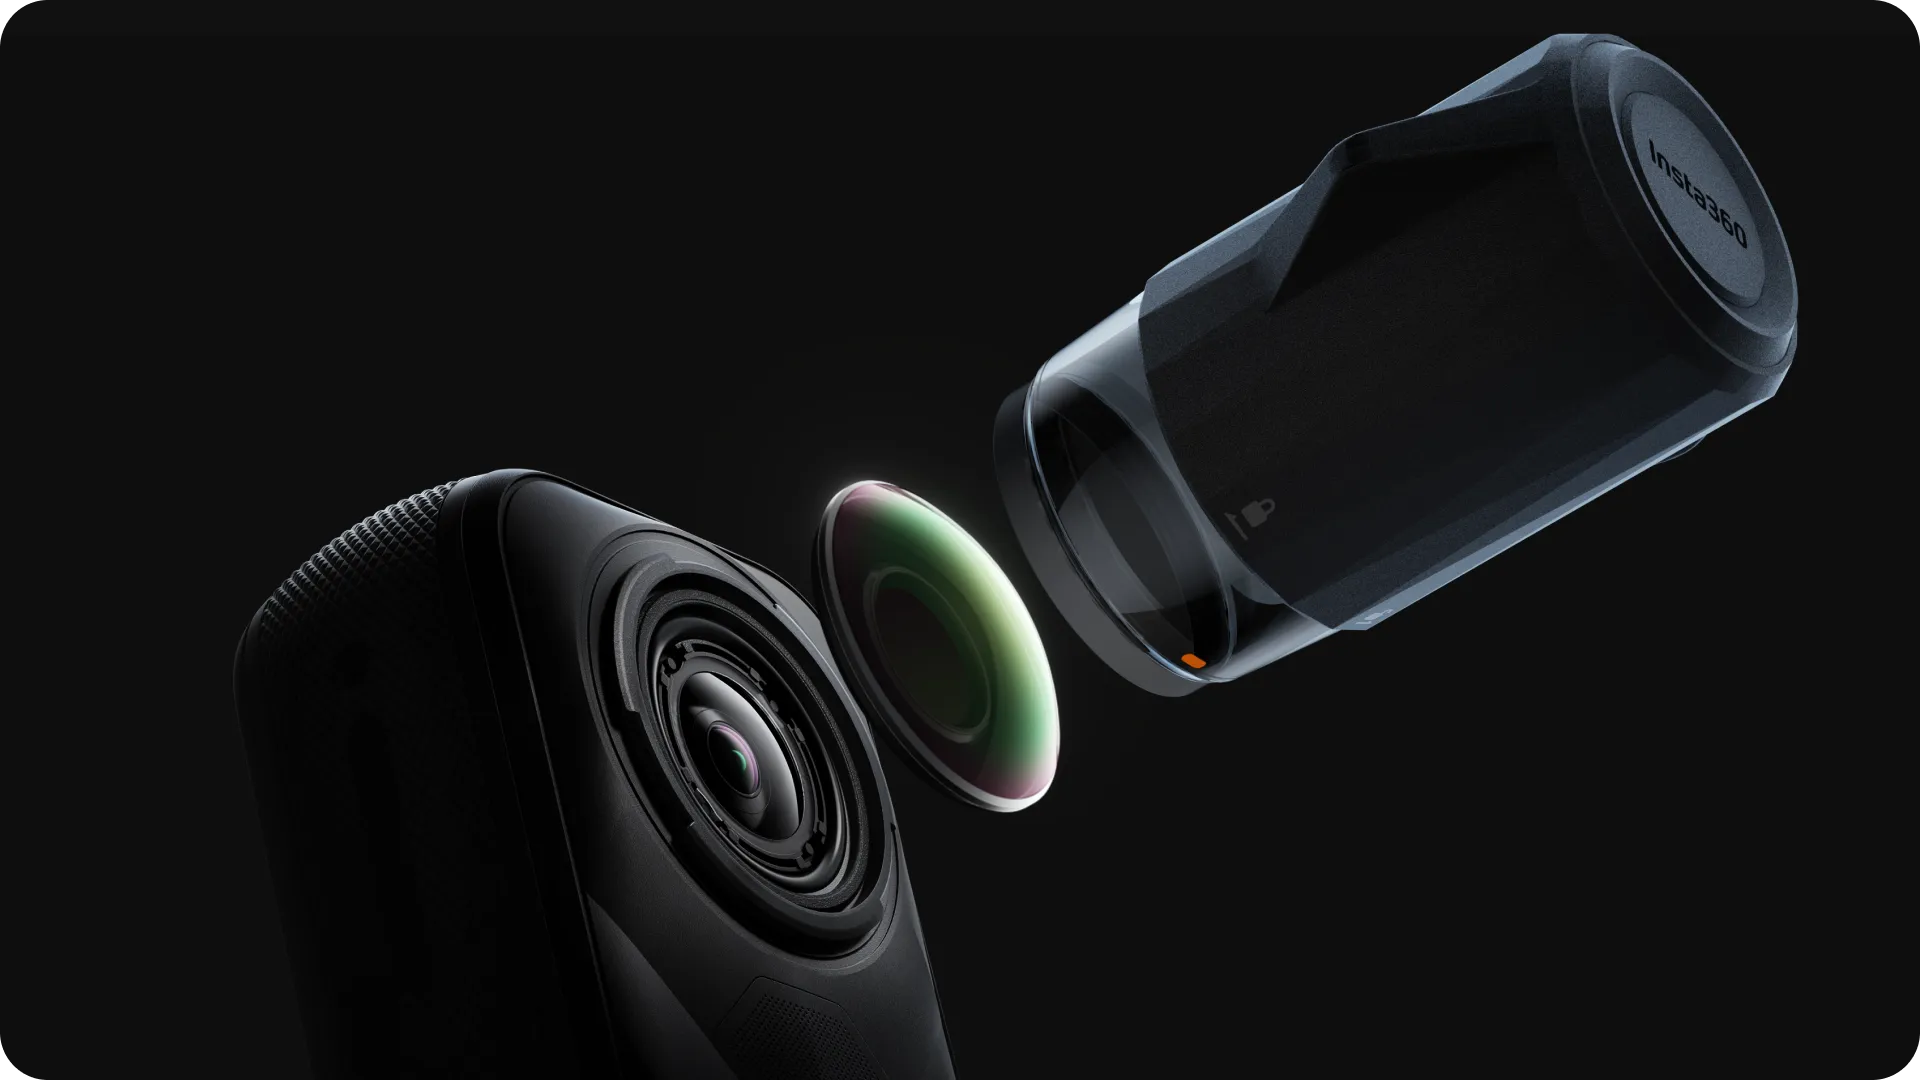
Crashed out? No worries.
X5's new replaceable lens design lets you pop out the damaged lenses and snap in fresh ones by yourself. No stress, no waiting, no limits.
*Please use the Replacement Lens Kit in a clean, dust-free indoor environment with less than 60% humidity. If the humidity is too high, use a dehumidifier to remove excess moisture from the air. Avoid using when the humidity is over 60% or outdoors to prevent the lenses from fogging or collecting dust.
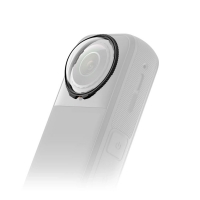
Quality guaranteed.
Includes one official replaceable lens for Insta360 X5, plus all the tools you need to replace and clean the lens at home.

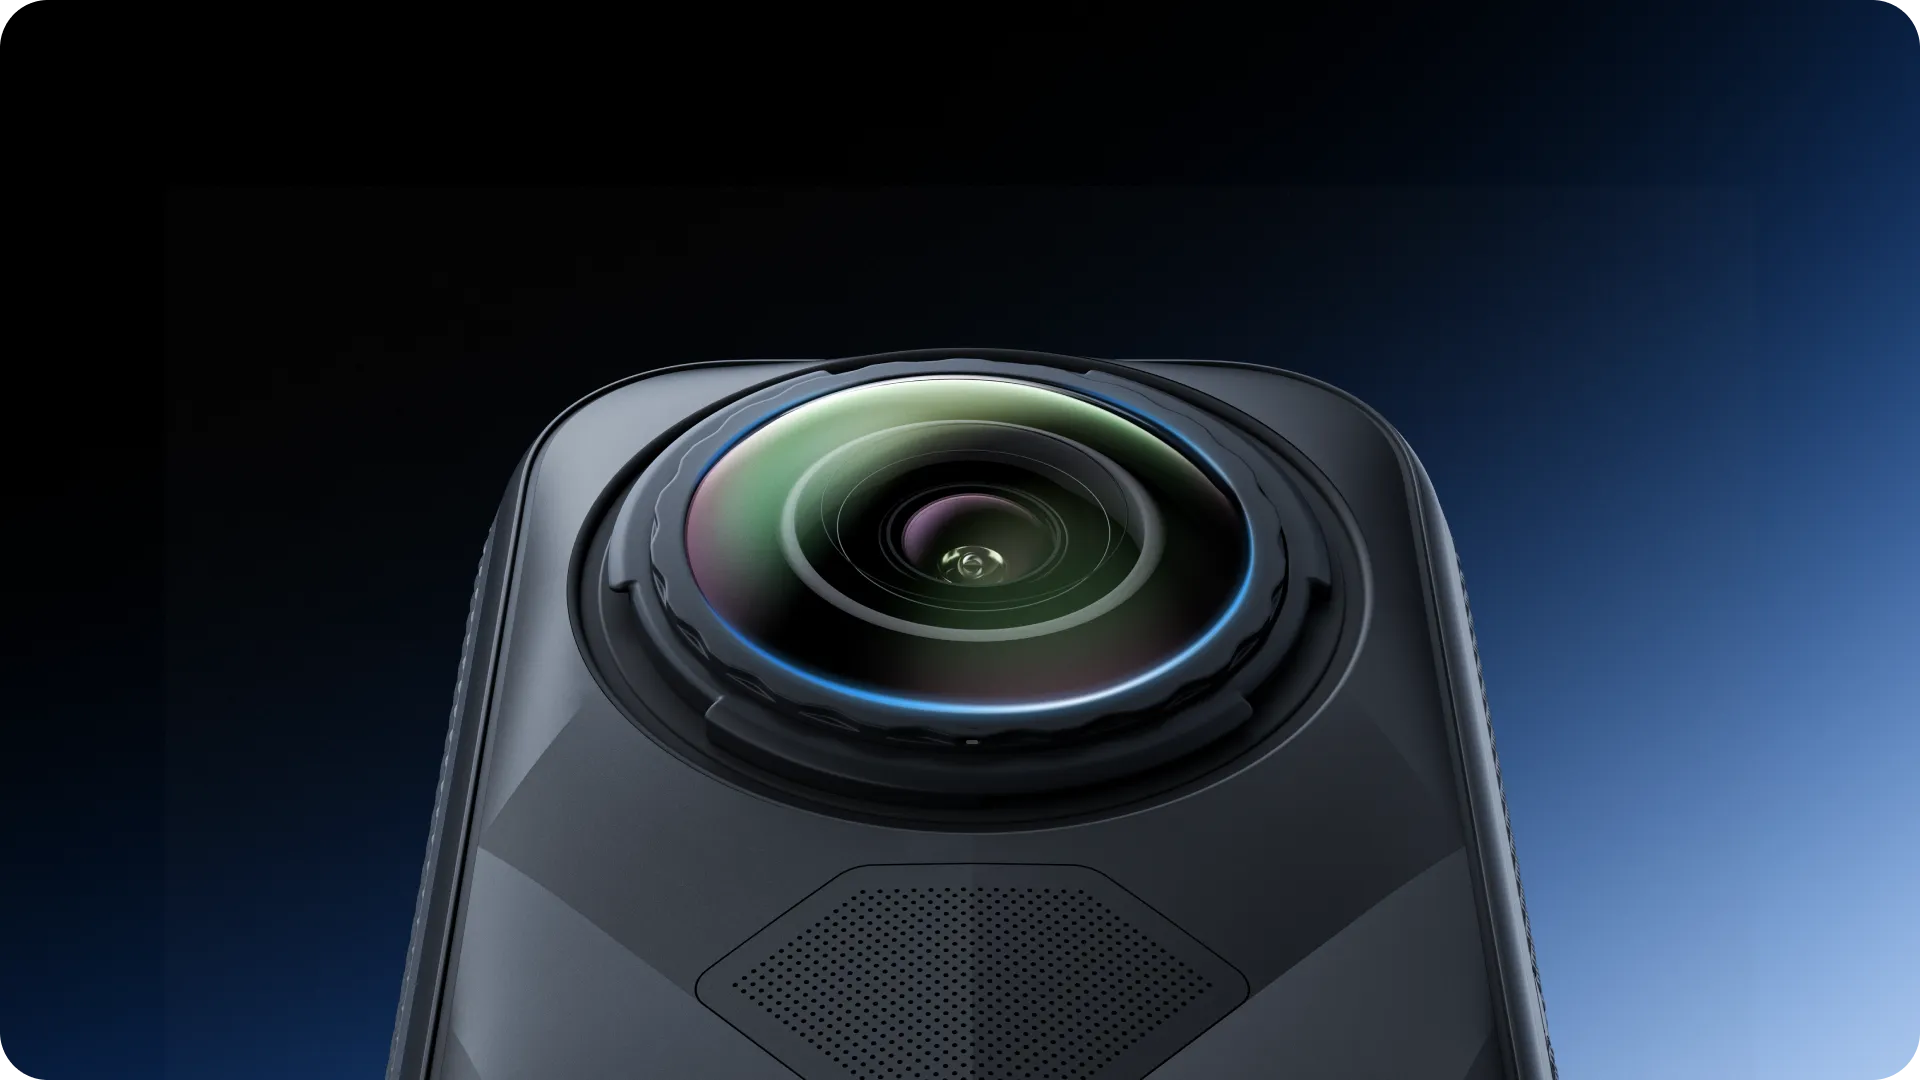
No compromises on image quality.
The replacement lens provides a seamless fit with the same outstanding optical performance as the original.
In the Box
Replacement Lens Kit (Single Lens)
1 × Replacement Lens
1 × Lens Slot Tool
1 × Lens Boost
2 × Lens Wipes
1 × Cleaning Cloth
1 × Brush and Tool
1 × Brush
1 × Disposable Gloves
1 × Lens Case
Replacement Lens Kit (Double Lens)
2 × Replacement Lenses
1 × Lens Slot Tool
2 × Lens Boosts
4 × Lens Wipes
1 × Cleaning Cloth
1 × Brush and Tool
1 × Brush
1 × Disposable Gloves
2 × Lens Cases
Specs
Weight & Size
Net Weight: 67g (±3g)
Dimensions: 70.6mm × 63.6mm × 63.8mm
Material
Glass, ABS, Silica Gel
How to Use
Wash hands before use and read the instructions carefully.
Note: Use the lens cleaning components before lens installation to avoid fogging or poor visual quality.
Use the right lens for the appropriate use scenario.
The default lens is the anti-fog, anti-scratch Boost lens, designed for normal riding scenarios. It’s not recommended for professional racing.
Use lens cleaning components and gloves.
Wear gloves when changing the lens to avoid smudges and scratches.
Turn off the smart helmet before replacing the lens.
Avoid damage from high voltage to avoid static discharge caused when unplugging components. If the battery level is less than 15%, connect to the mobile phone via Bluetooth and firmware to avoid moisture condensation, especially in humid areas. Upgrade the smart helmet firmware.
(Icon section showing "Power off", "Battery >15%", "Firmware update")
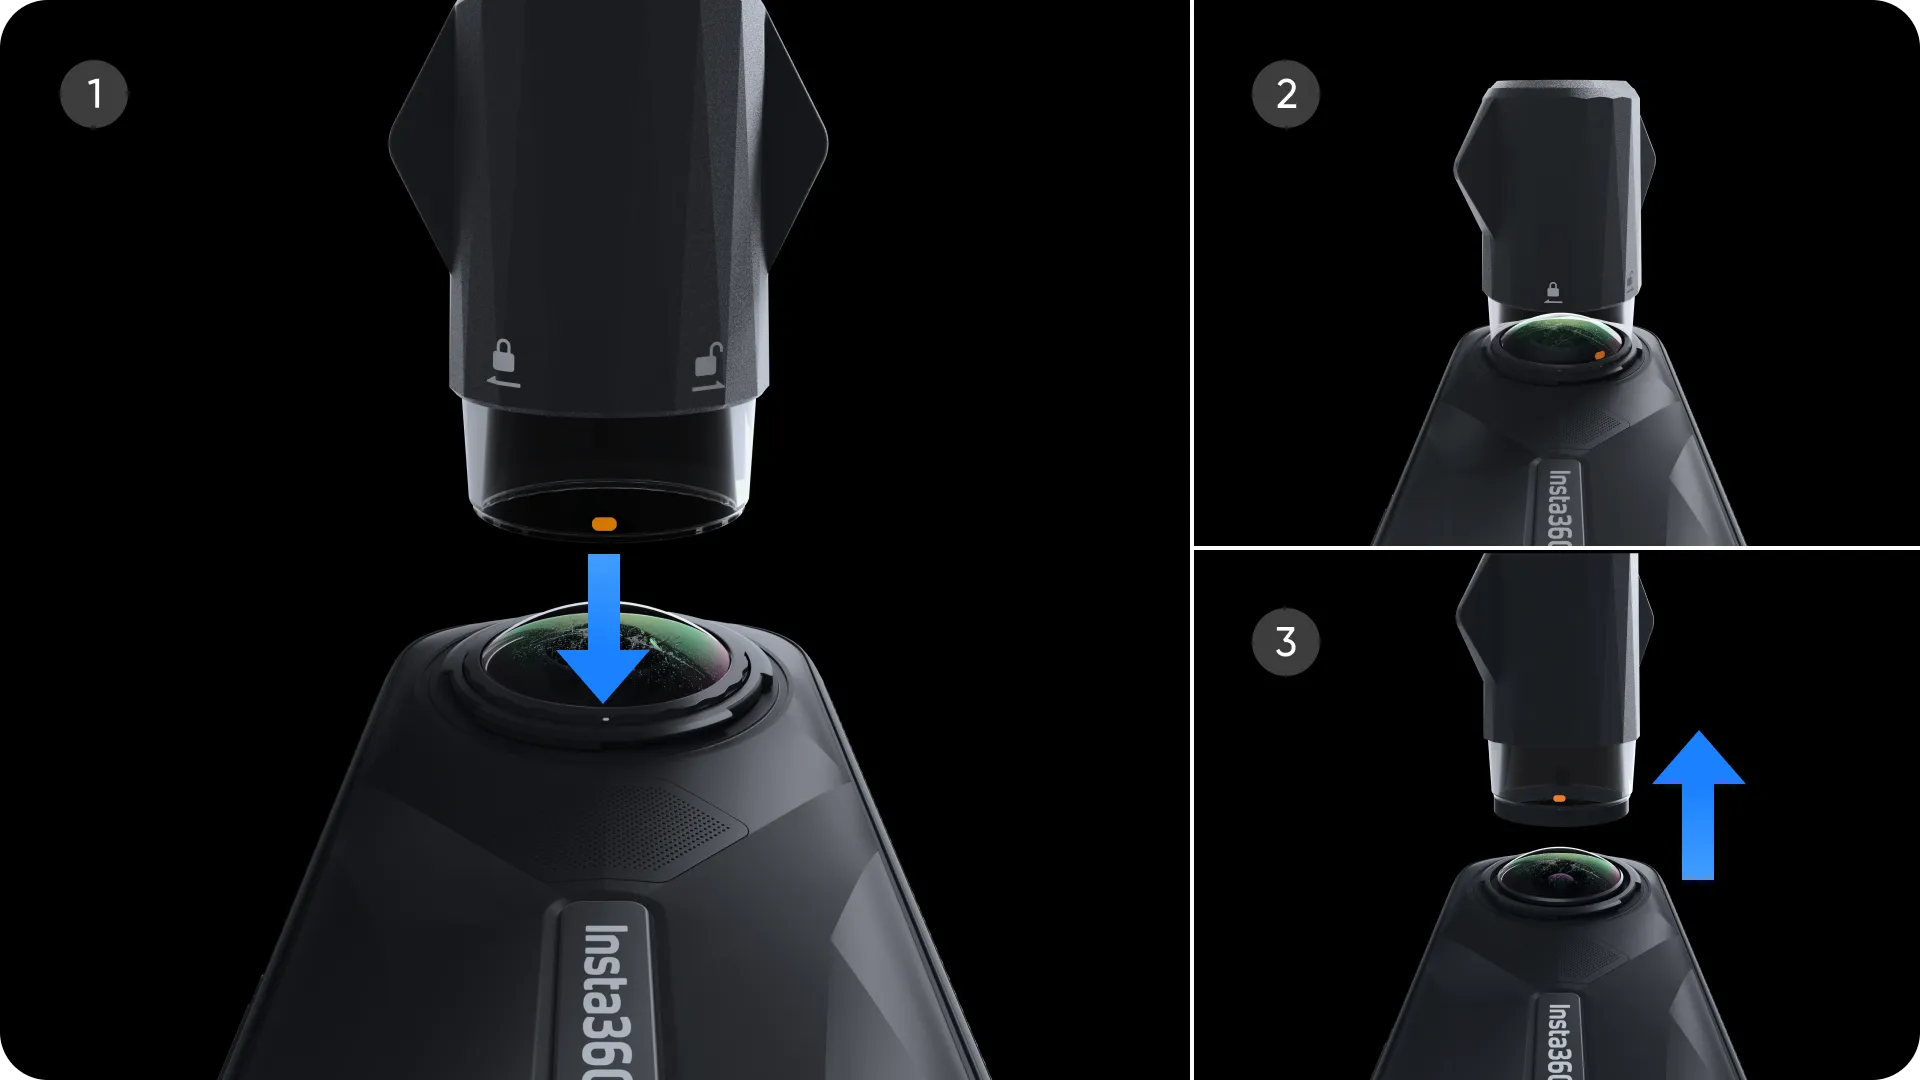
Remove Lens Ring
Align the edge grooves of the lens ring with both sides of the helmet lens slot.
Turn the lens ring with the included tool clockwise 90° to unlock.
Note:
When removing, pull to remove the lens ring.
Avoid using brute force to prevent damage. If the lens boost cannot be removed, please use the removal tool.
(3 step illustrations showing the removal process)
Remove Lens
Hold the lens close to the top edge of the helmet and remove it.
Use the special tool placed on the lens ring to press loose the lens and remove with upward force.
(2 step illustrations showing lens removal)
Check Lens is Clean
Inspect the new lens and clean if necessary, using gloves.
Clean the lens with lens boost, brush, cleaning wipes, and cleaning cloth.
Note:
After the lens is correctly installed, clean the lens to remove the cleaning agent.
The inner lens surface is coated. Avoid rubbing the inside lens during use or wiping forcefully.
Avoid using corrosive or alcohol-based cleaning liquids. If fogging still occurs after proper cleaning and installation, please check if the helmet needs to return for service.
(Image showing lens cleaning tools)
Replace Lens
Place the lens in your hands without fingers to block the new lens from the inside and install it.
(2 step illustrations showing lens installation)
Install Lens Ring
Align the key slot of the lens ring and insert the lens ring into the helmet lens slot.
Turn the lens ring clockwise with the tool by 90° to lock.
Note:
Before installing, ensure the lens ring is securely attached to the lens.
Confirm the lens ring has no gaps and is flush against the helmet groove after installation.
Avoid over-tightening during lens ring installation.
Improper lens installation may lead to water and dust ingress.
(3 step illustrations showing lens ring installation)
Confirm Installation
The lens ring is locked correctly if the rotating tool cannot be loosened unintentionally.
Inspect the lens from the side—no water ring or opening, clean fit.
Power on the helmet—the visual interface will return to normal.
After upgrading, you can use the normal switching functions, including HUD display.
(Image showing helmet screen)
1. Place a lens cloth under the camera to avoid scratching the lens.
2. It's recommended to wear disposable gloves when replacing the lens. Avoid touching the new lens directly with your hands to prevent dirt or marks.
3. If you experience any of the following conditions, do not continue to replace the lens:
- Deformed lens ring
- Worn lens ring
- Worn lens ring thread
- Dirt or debris inside the inner lens that's hard to clean
- Worn lens grip tool
Instead, please contact the official Insta360 customer service team.
other products in the same category: (30)
-
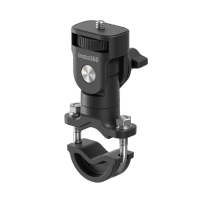
Insta360 Motorcycle U-Bolt Mount
-
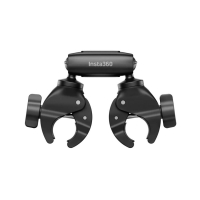
Insta360 Motorcycle Selfie Stick Support Clamp
-
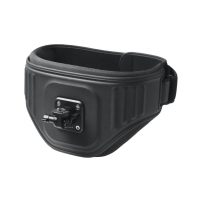
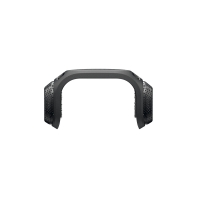
Insta360 The Back Bar (Enhanced Waist Strap)
-
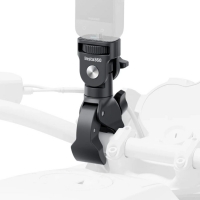
Insta360 Heavy Duty Clamp
-
Insta360 Rear View Mirror Mount
-
Insta360 X5 All-Weather USB Charging Cover
-
Insta360 X5 USB Cover
-
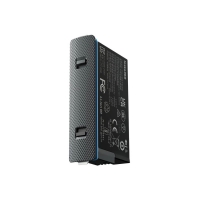
Insta360 X5 Battery
-
Insta360 X5 Carry Case
-
Insta360 X5 Utility Fast Charge Case
-
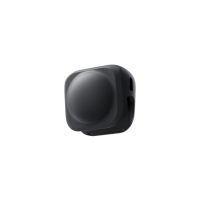
Insta360 X5 Lens Cap
-
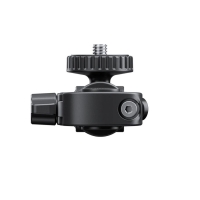
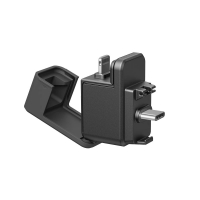
Insta360 X5/X4 Vertical-Horizontal Mount
-
Insta360 X5 Standard Lens Guards
-
Insta360 X5 Premium Lens Guards
-
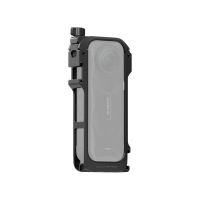
Insta360 X5 Utility Frame
-
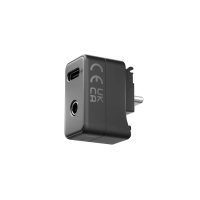
Insta360 Mic Adapter
-
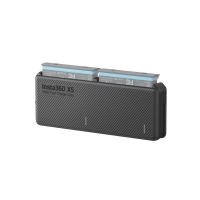
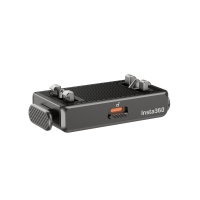
Insta360 X5 Quick Reader
-
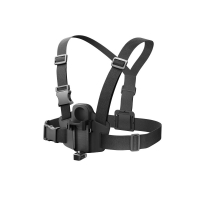
Insta360 X5 POV Chest Mount
-
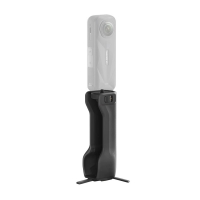
Insta360 X5 Foldable Utility Handle
-
Insta360 Quick Release Mount
-
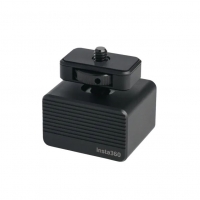
Insta360 FOMO Power Handle
-
Insta360 Helmet Chin Mount 2.0
-
Insta360 Ace Pro 2 Dual Battery MM93 Edition
-
Insta360 X5 BMW Motorrad Edition
-
Insta360 Vibration Damper
-
Insta360 X5 Mic Windshield
-
Insta360 X5 Replacement Lens Kit
-
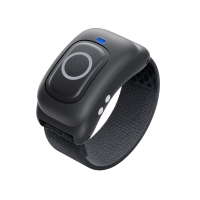
Insta360 Ring remote
-
Insta360 Memory Card (256GB)
-
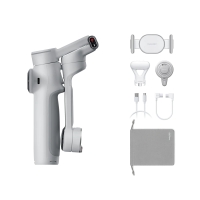
Insta360 Flow 2 Pro Creator Bundle (Summit White)